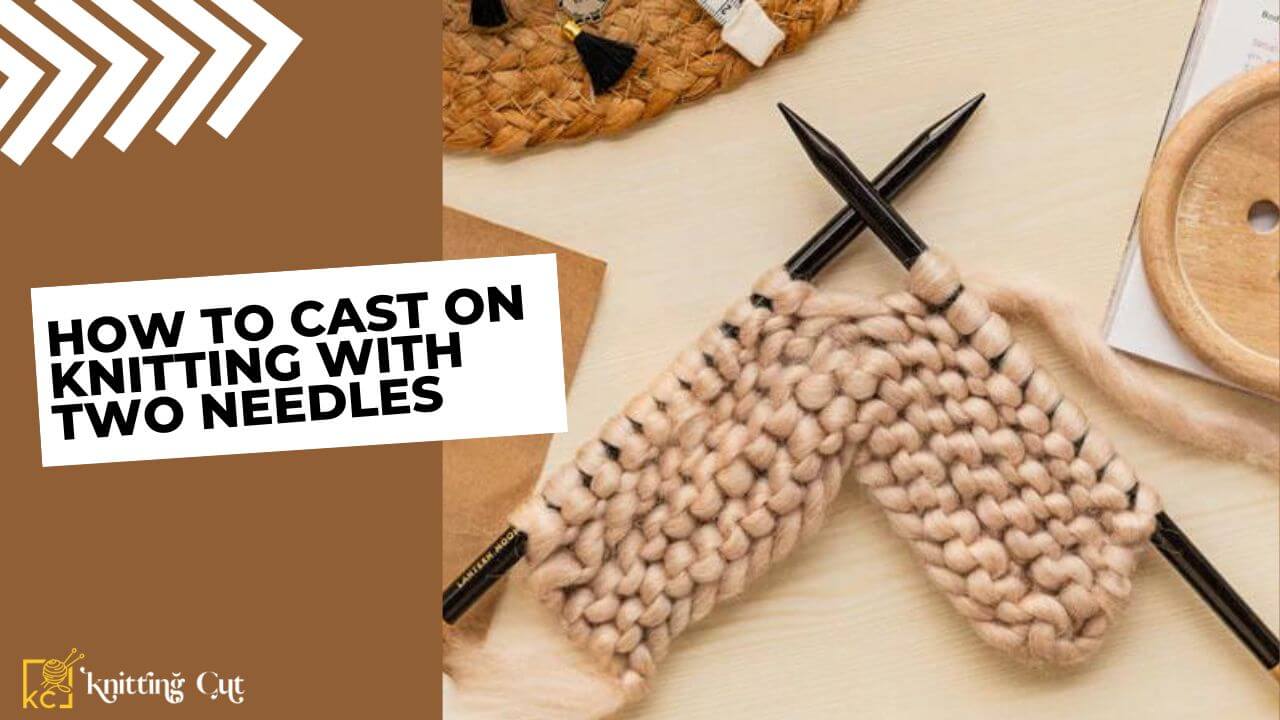
Embarking on a knitting project, such as learning How to Cast On Knitting with Two Needles, begins with a crucial step: the cast-on. As the saying goes, “A good start makes the rest easier.” Whether you’re using single-pointed, double-pointed, or circular needles, casting on lays the foundation for your entire project.
The Activities of Cast-On Methods
There’s no one-size-fits-all approach to casting on stitches. While many patterns offer instructions, each knitter has a unique style, affecting the gauge’s tension. Starting with the basic cast-on technique, your knitting journey may lead you to explore other methods as patterns demand.
Two-Needle Cast-On: Why and When
Casting on with two needles yields a stretchier edge, making it ideal for lace projects, 2×2 rib stitches, and similar patterns. Although more intricate than basic cast-on, the extra time and effort invested in the two-needle method result in a neat and sturdy edge, perfect for the initial row of knitting.
Read More: How to Knitting Cast on Stitches
Step-by-Step Guide: Casting On with Two Needles
Before diving into the process, gather your supplies:
- Knitting needles (single-pointed, double-pointed, or two circular needles)
- Yarn of your choice
- Scissors
- Tape measure (optional)
- Crochet hook (optional)
Step 1: Starting the Slip Knot
Begin with a standard slip knot around the larger needle, leaving a tail five times as long as your work’s intended width.
Step 2: Making the First Stitch
Create a slip knot, slide it onto the needle, tighten, and hold the needle in your left hand. Insert the right knitting needle through the front of the slip knot stitch, ensuring it’s behind the left needle.
Step 3: Yarn Wrapping
With the ball end of the yarn behind the needles, wrap it around the tip of the right needle anti-clockwise. Carefully draw a loop through the slip knot and transfer the new stitch to the left needle.
Step 4: Repeat and Tighten
Repeat steps 2-3 until you achieve the desired cast-on stitches. Tighten your stitches, and you’ve successfully cast on with two needles.
In addition to knitting needles and yarn, having scissors, a tape measure, and a crochet hook can be handy.
Guidelines and Tips for Success
Prepare the Needles and Yarn: Select the right yarn, ensuring it matches your chosen needles. Cut a length twice as long as your desired cast-on stitches and thread it onto one needle.
Create a Slip Knot: Form a slip knot, placing it onto one needle – this determines your cast-on edge size.
First Cast-On Stitch: Move the yarn to the back, wrap it around the second needle, and pull it through the slip knot. Release the loop on the second needle, creating the second cast-on stitch.
Repeat for Desired Stitches: Continue repeating steps 2 and 3 until you achieve the desired number of cast-on stitches.
Additional Tips:
- Ensure even casting for a uniform and professional look.
- Consider a cable cast-on for added stitch support.
- Use stitch markers for tracking progress and maintaining even casting.
- Practice regularly to improve your technique.
- Experiment with different yarns and needle sizes for varied projects.
Conclusion
Casting on with two needles adds versatility to your knitting repertoire. As you embark on new projects, don’t shy away from experimentation and enjoy the creative process. With patience and practice, you’ll master the art of casting on with two needles and create beautiful, unique projects
Read More: How to Cast Off Knitting For Beginners
