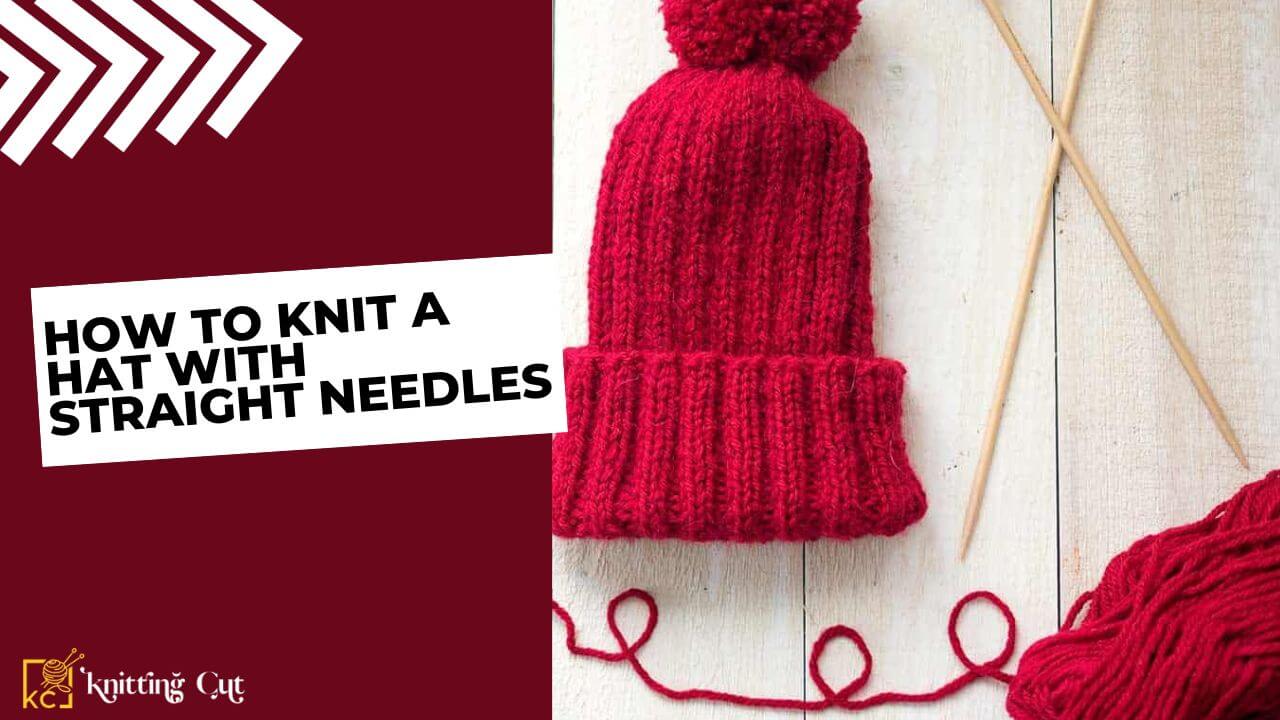
Starting the adventure of knit a hat with straight needles might appear a bit overwhelming, especially if you’re a beginner. But hey, no worries! This guide is your companion, here to guide you through each step, making sure you not only grasp the art of knitting a hat but also relish the creative and fulfilling journey.
Essential Materials You’ll Require
Before plunging into the world of knitting a hat with straight needles, let’s gather the essential material. Here’s your checklist:
- Yarn Selection: Choose a yarn that resonates with your style and the season. Consider texture, weight, and color for the perfect match.
- Straight Needles: Select the ideal pair of straight needles, whether wood or metal, ensuring comfort in your hands.
- Knit Hat Pattern: Find a straightforward, beginner-friendly pattern. This will be your guide throughout the project.
Also Read: How To Decrease Knitting Hat
Navigating the Knit Hat Pattern
Now armed with materials, let’s explore the intricacies of the knit hat pattern a recipe for knitting success. Look for a pattern covering:
- Casting On: Master the technique to cast stitches onto your needles, the starting point of your hat.
- Knit Stitch: Learn the basic knit stitch, the cornerstone for creating a smooth and even fabric.
- Purl Stitch: Discover the secrets of adding texture and variety to your hat using the Purl stitch.
- Increases and Decreases: Acquire the skills to shape your hat for the desired size and fit.
- Switching Colors: Add flair to your design by playing with different colors.
- Binding Off: Wrap up your hat with a neat and polished edge.
Building the Foundation:
Now, armed with materials and patterns, let’s tackle the foundation: casting on. This initial step sets the stage for the entire knitting project. Follow these steps:
- Hold Your Needles: Grab one needle in each hand, ensuring the yarn hangs at the back.
- Make a Slip Knot: Whip up a slip knot and slide it onto the left needle.
- Cast-On Stitches: Use your preferred casting-on method to add stitches to the needle.
Shaping Your Hat
As your hat takes shape, tailor it for the perfect fit by mastering the art of increases and decreases:
- Increases: Tack on stitches to broaden your hat.
- Decreases: Trim down stitches to shape the crown of your hat.
Follow the pattern instructions meticulously for the desired form.
Adding Personality: Colors and Patterns
Inject your personality by switching colors and creating patterns. Unleash your creative side and make your project truly one-of-a-kind. Experiment with stripes, motifs, or any design that sparks your imagination.
Final Touch: Binding Off
As you near the finish line, it’s time to bind off. Give your knitted masterpiece a clean, polished edge:
- Knit the First Two Stitches: Work your magic on the first two stitches of your row.
- Pass the First Stitch Over: Lift the first stitch over the second, locking it in.
- Continue Binding Off: Repeat until all stitches are securely bound off.
Tips and Tricks for a Seamless Experience
Here are some additional nuggets of wisdom to elevate your knitting experience:
- Take Breaks: Let knitting be a joy. Take breaks to prevent those hands from getting fatigued.
- Count Your Stitches: Keep tabs on your stitches regularly to stay on track with the pattern.
- Experiment with Tension: Find a tension that feels just right for you.
Conclusion
Knitting a hat with straight needles is more straightforward than it may seem, especially with this beginner-friendly guide. By following step-by-step instructions and infusing your creativity, you’ll not only craft a beautiful hat but also cultivate valuable knitting skills. Get ready to flaunt your creativity and keep warm with a handmade hat crafted by none other than yourself.
Also Read: How Long Does It Take To Knit A Hat?
