Learn How to cast on in Knitting with our easy-to-follow guide. Our step-by-step tutorial will show you the basics of knitting cast-on, helping you to get started with your knitting project in no time.
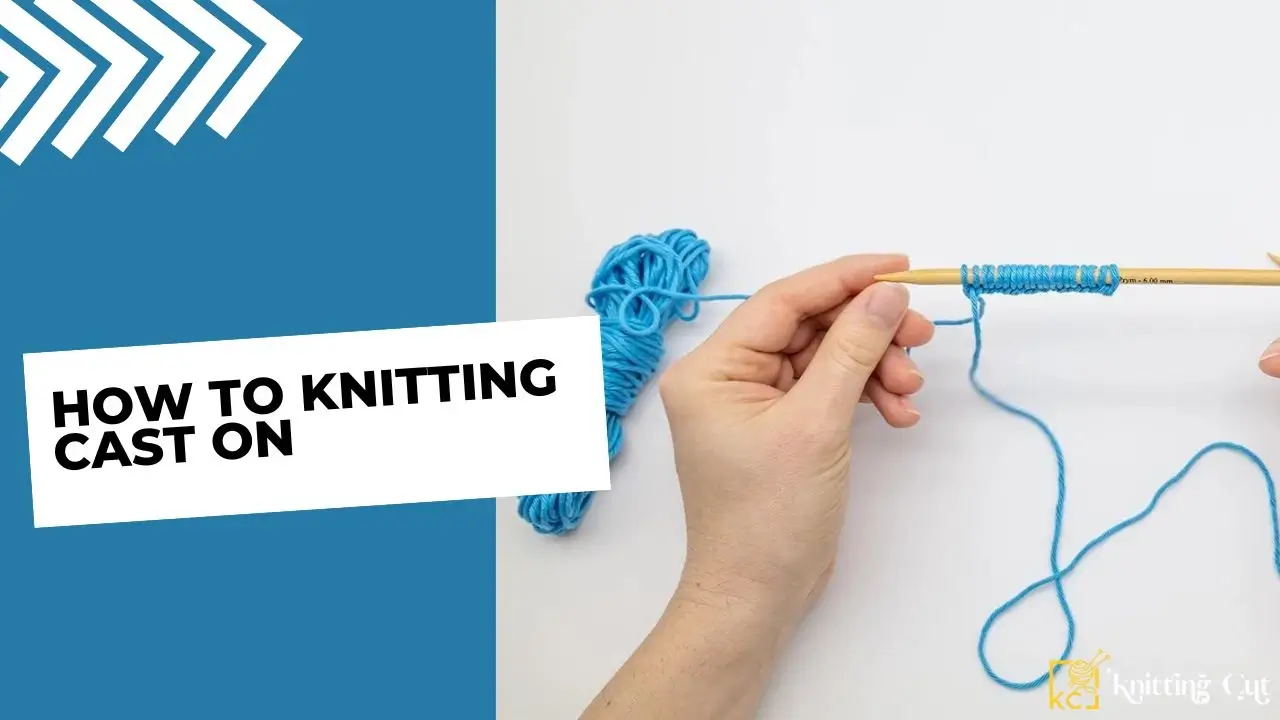
Whether you’re a beginner or an experienced knitter, learning how to cast on is an essential step in knitting any project. Casting on is the process of creating the first row of stitches on your knitting needles. It’s important to ensure you are casting on correctly as it sets the foundation for the entire project. Let’s dive into how to properly knit cast on and get ready for your next knitting adventure.
The Long-Tail Method
The long-tail method is one of the most popular ways to cast on because it gives a strong finished edge that won’t unravel easily. To start, you’ll need two knitting needles and some yarn. First, make a slip knot at one end of your yarn, leaving about four inches of extra yarn after the knot. Then, loop the yarn around your index finger so that you have two loops. Slip one loop onto each needle by pushing them from front to back, with the loops facing away from you. Once this is done, take hold of both working threads the two strands closest to the ball, and pull them tight against each other so that each loop is snug against its respective needle.
Now comes the tricky part you must knit off one stitch onto another needle while keeping tension in both threads this will create two stitches and complete your cast-on. Keep repeating this process until you have as many stitches as required for your pattern usually between 8-16 depending on what type of fabric you’re looking for and then move ahead with whatever pattern you’ve chosen.
The Cable Cast On
If you’re looking for a smooth edge with elasticity and flexibility, then look no further than cable casting. With this method, slip knots are not necessary; instead, simply make a circle with your yarn over both needles and place your thumb through it before inserting one needle into each side of it. This will create two loops which can be pulled up snuggly around each needle again creating two stitches just like before! Again, keep repeating these steps until you have enough stitches for your pattern, and then move ahead with whatever pattern you choose.
Also Read: Why Is It Called Fruity Knitting
knitting Cast On Thumb Method
The thumb method for casting on in knitting is a popular technique used to create a stretchy and secure foundation for your knitting project. It involves using your thumb to create loops on the needle, which are then used to begin your first row of stitches.
Here are the steps to perform the thumb method cast:
- Hold the needle in your right hand and make a slip knot with the yarn, leaving a tail of about 6 inches.
- Insert the needle into the slip knot and tighten it.
- Place your thumb on top of the yarn and bring it up and over the needle, creating a loop.
- Insert the needle into the loop on your thumb, from front to back.
- Use your thumb to bring the yarn up and over the needle again, creating a new loop.
- Insert the needle into the new loop on your thumb, from front to back.
- Repeat steps 5 and 6 until you have the desired number of stitches on your needle.
- Once you have cast on all the stitches you need, you can begin your first row of knitting.
The thumb method cast-on is particularly useful for projects that require a lot of stretches, such as hats or socks, because it creates a foundation that is both elastic and secure. Additionally, it is an easy and quick technique to learn, making it a great choice for beginner knitters.
Overall, the thumb method cast-on is a versatile and essential technique for any knitter to master. With a little bit of practice, you’ll be able to use it to cast on stitches for all kinds of knitting projects.
How to Cast On Knitting with Two Needles
To cast on knitting with two needles, follow these steps:
- Start by making a slip knot on one of the needles, leaving a tail that is long enough to work with.
- Hold the needle with the slip knot in your right hand and the other needle in your left hand.
- Insert the tip of the left-hand needle into the slip knot from front to back.
- With the yarn in your left hand, wrap the yarn around the left-hand needle, moving the yarn from the back to the front of the needles.
- Pull the left-hand needle down and back, bringing the new loop of yarn through the slip knot.
- Slip the new loop of yarn onto the right-hand needle, keeping the original loop on the left-hand needle.
- Repeat steps 3 to 6 until you have cast on the desired number of stitches.
- Once you have finished casting, you can begin working on the first row of your knitting project.
This method of casting on with two needles is called the knit cast-on. It creates a sturdy and flexible edge that is ideal for many types of projects, such as scarves, blankets, and hats. With practice, this method can be performed quickly and easily, making it a popular choice for many knitters.
Conclusion
Learning how to cast on properly is an important step when starting any knitting project it sets up all future work and helps ensure that everything else goes smoothly afterward. While there are multiple ways to do it, two popular methods are the long tail method and the cable cast-on method. With some practice, mastery of these techniques shouldn’t be too difficult; in no time at all, you’ll be ready to tackle any project.
Also Read: What is Knit Fabric