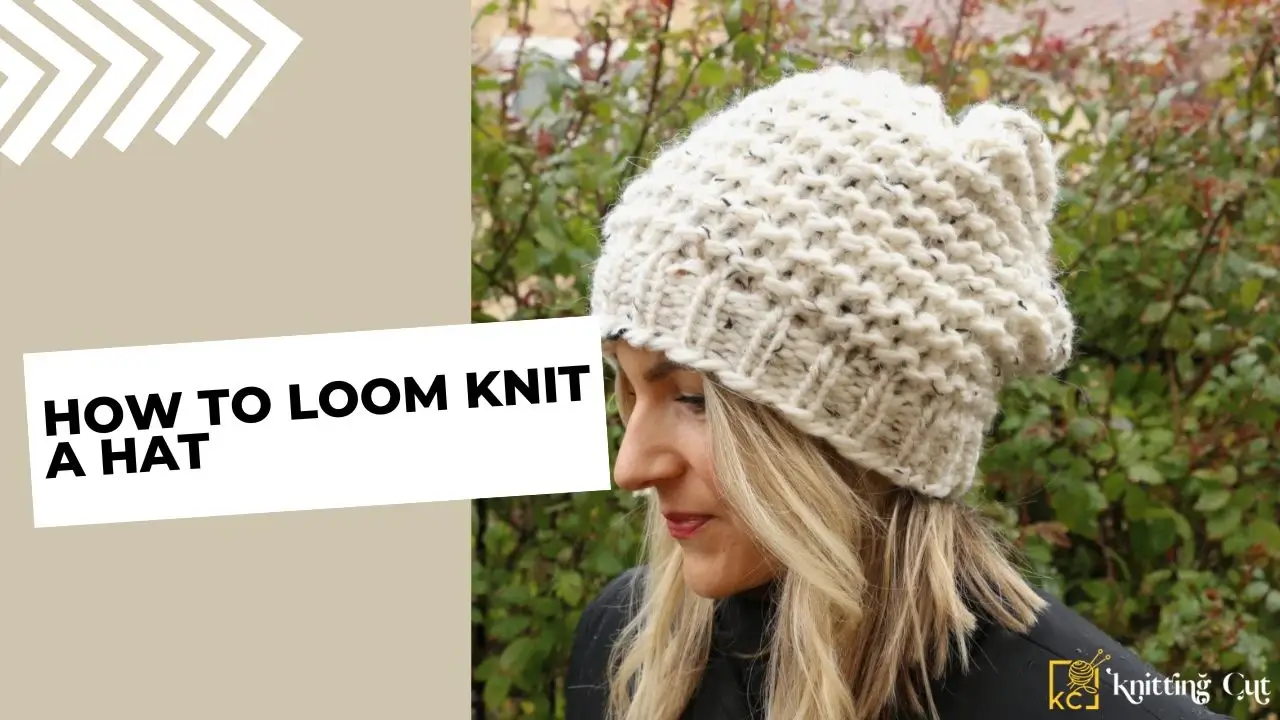
Learn how to loom knit a hat with this step-by-step guide. From choosing the right loom to casting on and binding off, we cover everything you need to know to create a cozy and stylish hat. Whether you’re a beginner or an experienced loom knitter, this tutorial will help you make a beautiful hat in no time.
Loom knitting is a fun and easy craft that anyone can learn. It’s a great way to create unique gifts for friends and family or to make something cozy for yourself. In this blog post, we’ll show you how to loom knit a hat in five simple steps. So grab your loom and let’s get started.
How to Loom Knit a Hat for Beginners
Step 1 – Choose Your Yarn
The first step in learning how to loom knit is picking out the right yarn. For beginners, it’s best to start with the worsted weight yarn since it’s thicker and easier to work with than thinner yarns like lace or sport weight. Also, try not to use fuzzy yarns since they can be difficult to handle on the loom. Once you’ve chosen your yarn, make sure you have enough of it for your project typically one skein of worsted weight will be enough for an adult-sized hat.
Step 2 – Choose Your Loom & Set Up
Now that you have your yarn, it’s time to choose the right type of loom for your project. If you’re making an adult-sized hat, then you’ll need at least 40 pegs on your loom any fewer than that won’t give you enough space on the loom for the brim of the hat. Once you’ve chosen your loom, thread all of the pegs with the same color of yarn before moving on to step three.
Also Read: How to Loom Knit a Baby Blanket
Step 3 – Start Knitting
The third step is actually doing some knitting! To begin, cast on stitches by looping each peg twice and pulling them off onto another peg until there are no more empty pegs left. Then begin e-wrapping around each peg twice e-wrap means wrapping around each peg once in a clockwise direction.
Do this until all of the pegs are filled up with loops twice over and then start knitting off of every peg once at a time you should now have one loop left on each peg. Continue e-wrapping and knitting off until the brim of your hat has reached its desired length usually about six inches long.
Step 4 – Shaping & Finishing Up
Now it’s time to shape your hat so that it fits properly. To do this, start decreasing by knitting two stitches off together from adjacent pegs until there are only twenty pegs left on your loom. Then decrease by one stitch until there are only four stitches remaining before binding off those last four stitches using an overhand knot or crochet hook method.
Finally, thread all remaining loops onto a tapestry needle and weave them in so that they don’t come unraveled when wearing or washing the hat.
Step 5 – Enjoy Your Creation!
You did it! Now, all that’s left is to put your new hat on display so everyone can admire it and maybe even borrow it. Even if this is your first attempt at loom knitting, chances are good that you made something beautiful that will keep someone warm during the chilly winter months ahead.
Conclusion
With just five simple steps, we showed you how to loom knit a hat from start to finish from choosing the right type of yarn and setting up your loom correctly all the way through shaping and finishing up your work. Whether you’re new to crafts or an experienced knitter looking for something different, we hope this post inspired you enough so that soon enough there will be unique hats everywhere thanks to our helpful guide.
Also Read: How To Knit a Loom Hat with a Brim
