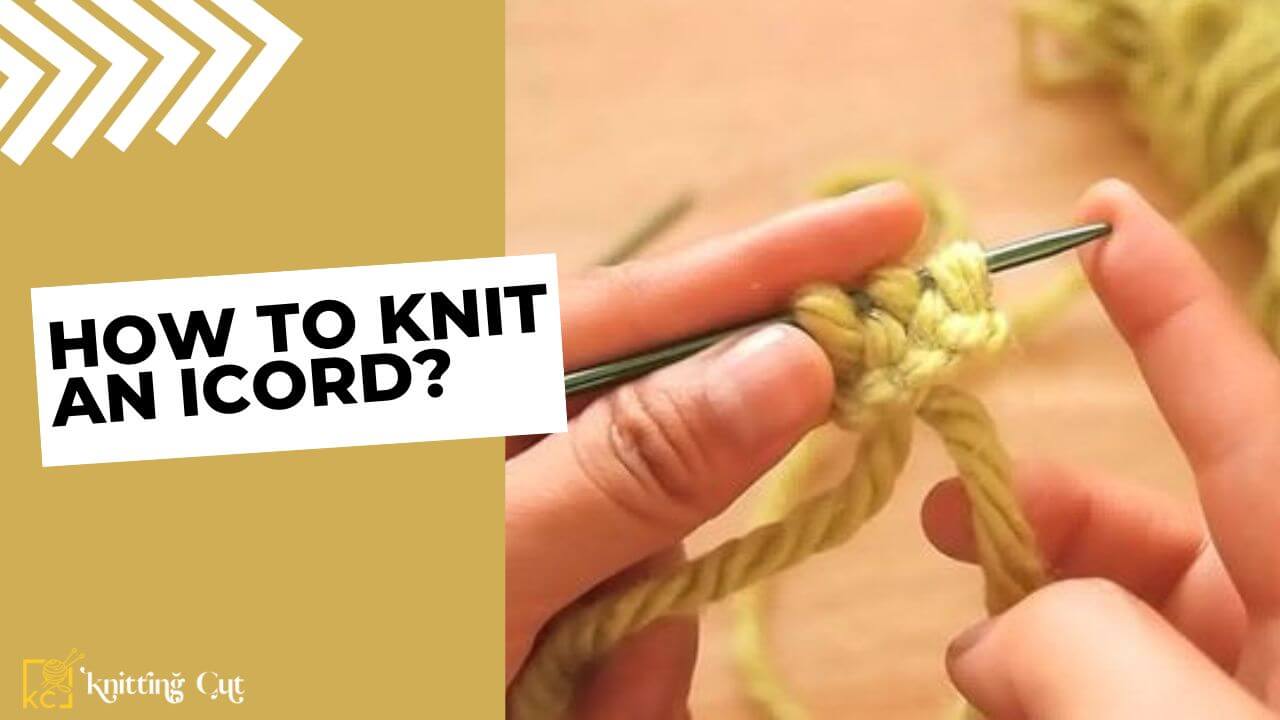
Knitting is an ancient craft that allows us to create beautiful and functional pieces of fabric. One of the essential techniques is how to knit an icord. One of the essential techniques in knitting is creating an Icord, which serves various purposes in knitting projects. In this article, we will walk you through the process of knitting an I-cord, providing you with easy-to-follow steps and helpful tips.
What Is An Icord?
An Icord, also known as an “Idiot Cord,” is a basic knitting technique that results in a narrow, tubular piece of fabric. Its peculiar name, “Idiot Cord,” comes from the fact that it’s incredibly simple to create, making it an excellent starting point for beginners in the world of knitting.
One of the great advantages of the Icord is its versatility. It serves various purposes in knitting projects. For instance, it provides a clean, polished edge to your work, making it ideal for finishing off projects neatly. It’s also commonly used to create drawstrings for bags and hoods, as well as to add decorative elements to your knitting.
Materials You’ll Need
To get started, gather the following materials:

Also Read: When Was Knitting Invented?
Step 1: Cast On Stitches
Begin by casting on the desired number of stitches onto one of your knitting needles. The number of stitches will determine the width of your Icord.
Step 2: Knit Across
Hold the knitting needle with the cast-on stitches in your right hand and the empty needle in your left hand. Insert the left needle into the first stitch from left to right and knit as usual.
Step 3: Slide Stitches
Instead of turning the work, simply slide the stitches to the other end of the needle. The working yarn will now be on the left-hand side.
Step 4: Repeat
Repeat steps 2 and 3 until your Icord reaches the desired length. Keep in mind that the Icord tends to curl naturally, so don’t be alarmed.
Step 5: Bind Off
When you’ve reached the desired length, bind off your stitches. This secures the Icord and prevents it from unraveling.
Tips for a Perfect Icord
Gauge Consistency
Ensure that your tension and stitch size remain consistent throughout the Icord. This helps in achieving an even and polished look.
Yarn Choice
Select a yarn that complements your project. For a seamless finish, choose a yarn with a similar weight and fiber content to your main project.
Needle Size
Use a needle size slightly smaller than what you used for the main project. This ensures that the Icord is tight and neat.
Stitch Count
Decide on the number of stitches you want in your Icord. Generally, 3-5 stitches work well for most applications.
Slipping Stitches
To create a smooth, rounded edge, slip the first stitch of each row purlwise with the yarn held at the back.
Tension Control
Pay close attention to your tension. Keep the yarn tight enough to create a firm edge, but not so tight that it distorts the stitches.
Joining Techniques
If your Icord needs to be joined at the ends, consider using a technique like “Judy’s Magic Cast On” or grafting for a seamless finish.
Working in the Round
For circular projects, consider using double-pointed needles or a circular needle with a long enough cable to accommodate the small number of stitches.
Length Determination
Measure the length of the Icord you need carefully. It should be slightly longer than the desired finished length, as Icord tends to contract.
Blocking
Lightly block the Icord after it’s finished to even out any irregularities and to set the stitches in place.
Creative Uses for Icords
Icords are incredibly versatile and can be used in various knitting projects. Some popular applications include:
Edging for Baby Blankets
Grace the soft expanse of baby blankets with an Icord border, an exquisite touch of charm and tenderness.
Drawstrings for Bags
Envision and craft custom drawstrings, bestowing upon pouches and bags a touch of elegance and functionality.
Headbands and Belts
Elevate your attire with bespoke accessories, woven with the grace and precision of Icords.
Conclusion
Knitting an Icord is a valuable skill that opens up a world of creative possibilities in your crafting endeavors. With the right materials and a bit of practice, you’ll be adding beautiful Icord details to your projects in no time.
Also Read: Are Knitting Needles Allowed On Flights?
