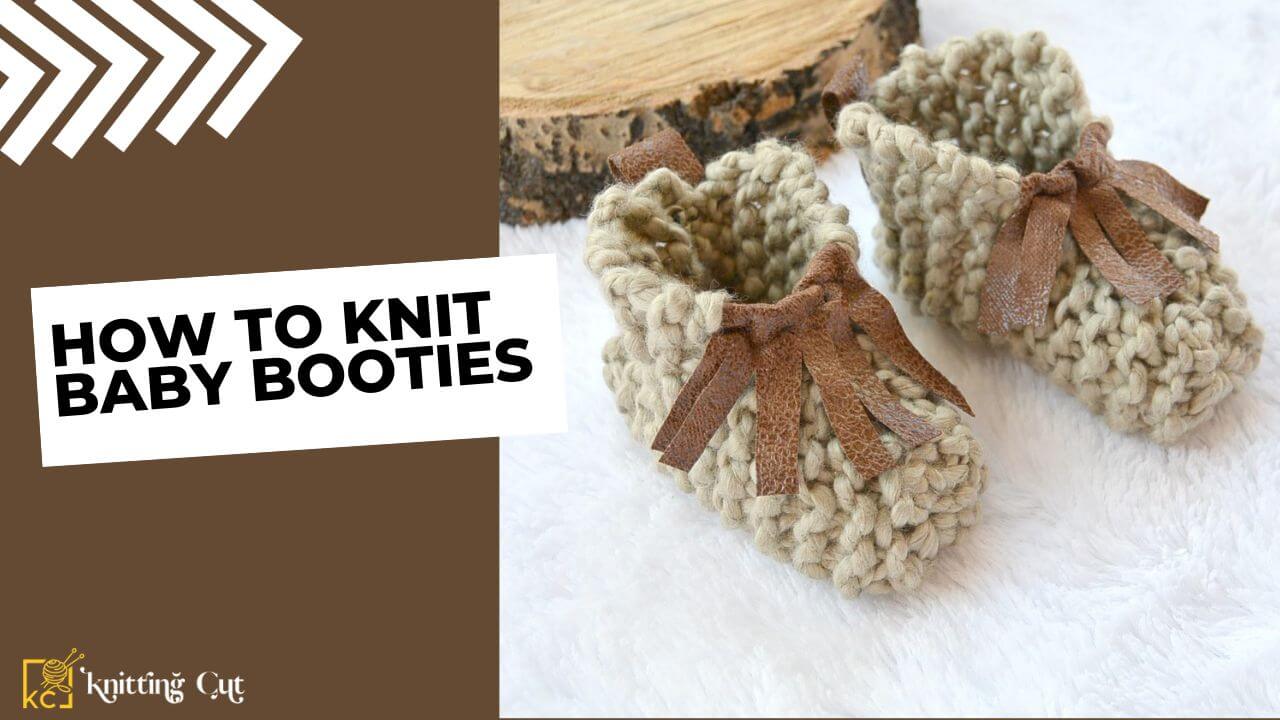
Knitting baby booties is such a delightful and rewarding craft. It allows you to create a special handmade gift for a little one who holds a special place in your heart. Whether you’re an experienced knitter or just starting out, this guide is designed to gently walk you through the process of crafting these adorable baby booties effortlessly.
What is Baby Booties?
Baby booties are small, soft shoes designed specifically for infants and newborns. They are typically made from soft, comfortable materials like fabric or yarn and are meant to keep a baby’s feet warm and protected. Baby booties come in various styles, including knit, crochet, and fabric, and often feature cute designs or embellishments. They are a popular accessory for newborns and are often handmade as a thoughtful gift or purchased as part of a baby’s wardrobe.
Materials You’ll Need
Before you dive into this knitting baby booties project, make sure you have the following essentials:
- Yarn: Opt for a soft, baby-friendly yarn in a color that resonates with you. Look for a lightweight, washable option for ultimate comfort and easy maintenance.
- Knitting Needles: It’s important to use the right needle size for your chosen yarn. Typically, needles sized between 3-5 US (3.25-3.75 mm) are ideal for crafting baby booties.
- Yarn Needle: This versatile tool will be your go-to for neatly finishing off loose ends and expertly sewing up seams.
- Stitch Markers: These handy little devices are invaluable for keeping track of stitches and maintaining the desired shaping.
- Scissors: A good pair of sharp scissors will be your trusty companion for cutting yarn as needed.
- Pattern: Always have a clear, easy-to-follow pattern at hand. You can find a wide range of free patterns online or in dedicated knitting books.
Also Read: How to Knit A Blanket With Straight Needles?
Choosing the Perfect Pattern
Select a pattern that matches your skill level. If you’re new to knitting, look for patterns labeled as “easy” or “beginner-friendly.” For those with more experience, feel free to explore patterns with intricate stitch work and advanced techniques.
Let’s Get Started: Casting On
- Creating a Slip Knot: Begin by forming a loop with your yarn, leaving a tail. Pass the working end through the loop and snugly pull to create a slip knot.
- Inserting the Needle: Gently insert one needle through the loop and secure the knot onto the needle.
- Casting On Stitches: Use your preferred casting-on technique (like the long-tail cast-on) to cast on the specified number of stitches as per your pattern.
Crafting the Baby Booties
In this step, bring your chosen stitch pattern to life, shaping the baby booties to perfection.
1. Ribbing (Optional)
Ribbing provides a stretchy cuff for the booties. Achieve this effect by alternating between knit and purl stitches. Follow your pattern’s instructions for the desired cuff length.
2. Shaping the Bootie’s Body
Work in your chosen stitch pattern until the bootie reaches the desired length, following the pattern’s instructions for any required increases or decreases.
3. Shaping the Toe
Consult your pattern for guidance on shaping the toe. Typically, this involves decreasing stitches to form a rounded toe.
Adding the Final Touches
In this crucial phase, bind off the stitches to achieve a clean and secure edge. Then, skillfully seam up the back for a seamless finish that fits your baby’s feet perfectly.
1. Binding Off
Once you’ve successfully shaped the toe, it’s time to bind off. Follow your pattern’s instructions to achieve a clean and secure edge.
2. Seaming It Up
Fold the bootie in half and skillfully sew up the back seam using your trusty yarn needle. This creates a tube with an opening perfectly sized for the foot.
3. Adding Straps or Buttons (Optional)
For an extra touch of charm, consider adding straps or buttons. These not only add a decorative element but also help keep the booties securely in place.
Wrapping It Up
Wrapping it up, delicately weave in any loose ends for a polished finish. This final step ensures your baby booties are both snug and stylish. With every stitch, you’re creating a special gift that’ll be cherished.
Conclusion
You’ve now lovingly crafted a precious pair of baby booties with your own two hands. Whether they’re destined for gifting or to be adored by your little one, these handmade treasures are sure to hold a special place in your heart. Remember, practice makes perfect, so don’t hesitate to experiment with various patterns and techniques to create your very own unique designs.
