There are a variety of stitches that you can use when knitting and one of the most versatile and common is the slip stitch in knitting. It is a great stitch to learn if you are just getting started with knitting. It is easy to practice and can be used in many projects. Read on to learn more about how to do a slip stitch in knitting.
What is a Slip Stitch?
A slip stitch is a type of knitting stitch used to create patterns or textures by moving stitches from one needle to another without working them. The slip stitch can also be used for binding off, joining seams, and making buttonholes. To do a slip stitch, you need two needles a right-hand needle (R-HN) and a left-hand needle (L-HN). You will also need yarn or thread.
How Do I Do a Slip Stitch?
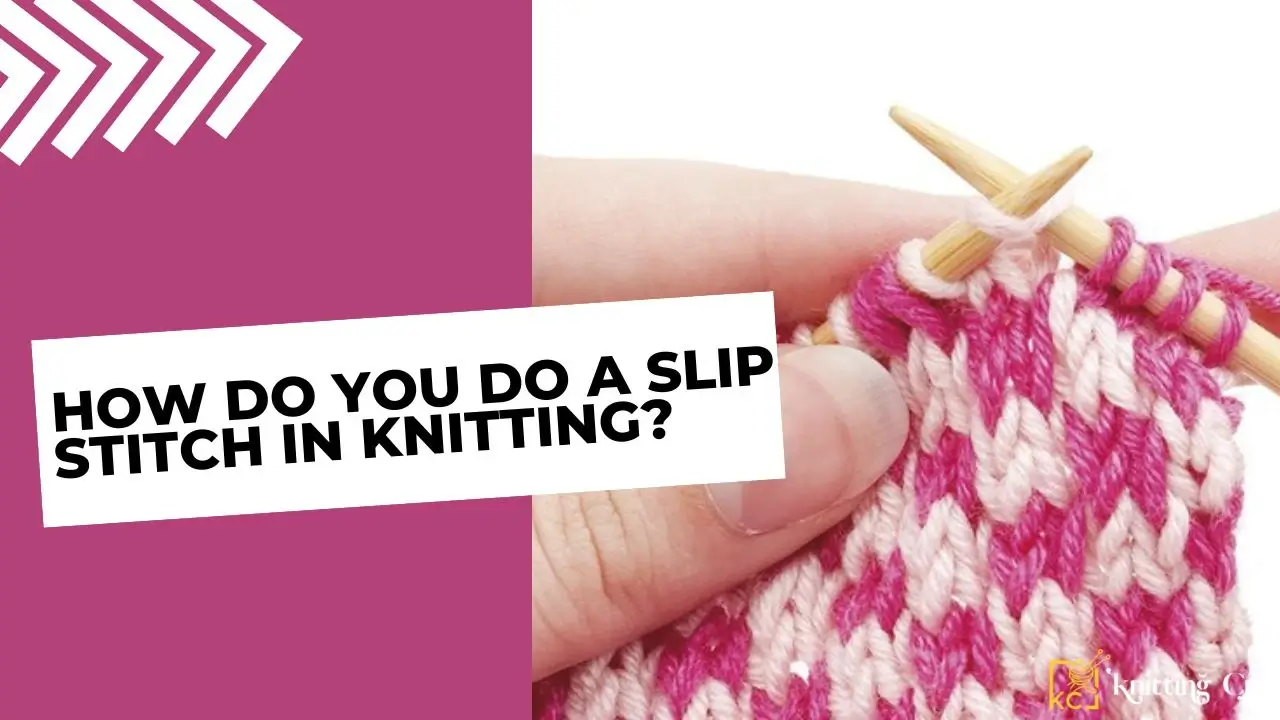
To do a slip stitch, first cast on your required number of stitches using both needles. Then insert your R-HN into the first stitch as if you were going to knit it that is, with the yarn behind the needle, and slide the loop off onto the L-HN without working it. This creates a new loop that will form part of your pattern or texture.
Repeat this process until all of your stitches have been moved over to the L-HN, then switch needles so that your L-HN becomes your R-HN and vice versa. Continue until you have completed your desired number of rows or pattern repeats.
Also Read: How To Do Basic Knitting
The Benefits Of Using A Slip Stitch
The slip stitch can be used for many different purposes beyond creating patterns or textures in knitting projects such as hats, sweaters, and scarves. It can also be used for binding off edges and joining seams together.
Additionally, because it does not involve working any stitches, it makes finishing projects faster than other methods like ribbing or purling would. Finally, because it requires minimal movement and effort from your hands, it causes less fatigue than some other methods do which makes it ideal for those who suffer from hand pain or arthritis.
How do you slip a stitch pattern?
Slipping a stitch is a knitting technique that involves passing a stitch from the left needle to the right needle without knitting or purling it. This can be done in various ways to create different effects in your knitting, such as adding texture or changing the color of your work.
To slip a stitch pattern, you can follow these steps:
- Read the instructions carefully to determine which type of slip stitch is required for the pattern. There are different ways to slip a stitch, such as slipping knitwise or purlwise, and the pattern should specify which one to use.
- Hold the working yarn in the back of the work if you are slipping a stitch purlwise, or in the front of the work if you are slipping a stitch knitwise.
- Insert your right needle into the next stitch on the left needle as if you were going to knit or purl it, depending on the instructions. Instead of actually knitting or purling the stitch, simply slide it onto the right needle without twisting it.
- Continue working across the row, slipping stitches as instructed. Depending on the pattern, you may need to slip every stitch or only certain stitches.
Slipping stitches can create various effects in your knitting, such as creating a smooth and unbroken line of color changes, adding texture or depth to your fabric, or creating a unique stitch pattern. It’s important to pay close attention to the pattern instructions to ensure you are slipping the stitches correctly and in the right order.
Conclusion
Slip stitching may seem daunting at first but with practice, you’ll soon become an expert. The slip stitch is an incredibly versatile tool that any knitter should have in their repertoire as it allows for so much creativity when creating patterns or textures for any project. Whether you’re just starting out with knitting or looking to expand upon your existing skillset learning how to do a slip stitch will help you create beautiful designs with ease.
Also Read: How Long Does It Take To Learn Knitting