Hello, and welcome to our blog about knitting! We hope you’re doing well and are excited about diving into a new free knitting pattern or tutorial. Today, we have something special to share with you – a step-by-step tutorial on how to knit a frog. Whether you’re a knitting novice or an experienced enthusiast, this tutorial is designed for anyone who loves to create charming projects.
Step-by-Step Tutorial: How to Knit a Super Cute Frog
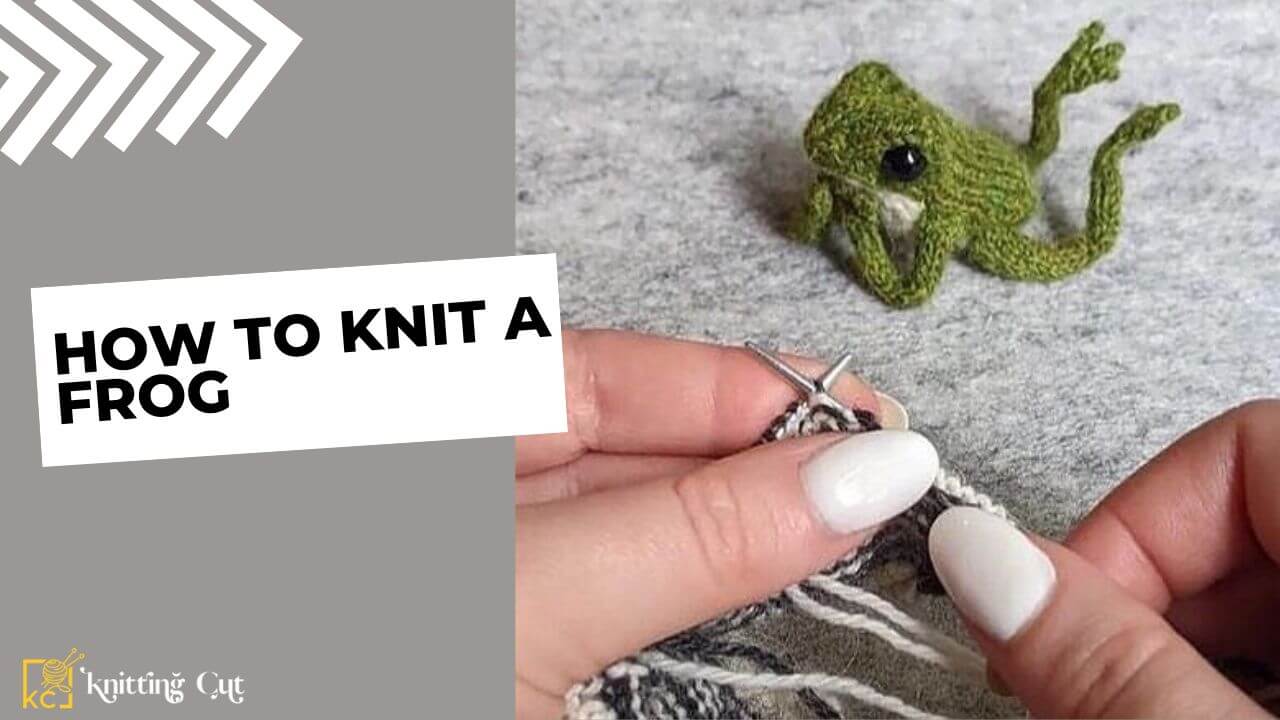
Looking for a fun and easy-knit project? In this incredible video tutorial, the creator will guide you through the process of making a super cute frog. Using basic knit techniques and easy-to-follow instructions, you’ll learn how to create this lovable frog in no time. The finished product is not only delightful but also makes for a perfect gift for a loved one or a whimsical addition to your knitting collection.
Supplies Needed:
- Green Worsted Weight Yarn (weight 4)
- White Worsted Weight Yarn (weight 4)
- 3.75 mm knitting needles (US 5)
- Tapestry Needle
- Scissors
- Stitch Markers
- Wool to stuff your frog with fluff
Stitches Used:
- K — a simple knit stitch
- P — a simple purl stitch
- KFB — knit front back, an increase stitch
- K2TOG — knit two together, a decrease stitch
- P2TOG — purl two together, a decrease stitch
- SSK — slip slip knit, a decrease stitch
- Puff — KFB three times into the same stitch to create a “puff”
Now, let’s grab our knitting needles and start crafting this cute and lovable frog!
Read More: How To Knit With Pom Pom Wool
Step 1: Knit Frog’s Back Body
First, we’ll knit the back body of the frog, working from the bottom up. Follow the detailed instructions for each row, incorporating techniques like knit, purl, and special stitches like the puff stitch. This section forms the foundation of your frog’s body, including its distinctive eyes created with puff stitches.
Step 2: Knit Frog’s Belly
Moving on to the frog’s belly, switch to white worsted weight yarn and follow the provided instructions to create the contrasting section. The belly complements the back body, adding character and detail to your knitted frog.
Step 3: Knit Frog’s Back Legs
Create the hind legs of your frog by following the instructions for two back legs. The shaping and assembly details ensure a realistic and adorable look. Weave in ends, shape the toes, and sew the seams to complete each leg.
Step 4: Knit Frog’s Front Legs
Finish off your frog by knitting two front legs using a similar approach as the back legs. Pay attention to the toe shaping and webbed feet, and then assemble the legs by sewing the seams and leaving webbing for the toes.
Assembly:
- Weave in long ends to shape toes and make them inconspicuous.
- Sew the seams, leaving webbing for toes.
- Flatten the feet to create webbed toes.
- Stuff the top half of the frog’s body with wool or fiberfill.
- Sew closed, ensuring a snug and adorable finish.
With these steps completed, you’ll have a charming knitted frog ready to hop into your collection.
Read More: How To Knit Baby Booties