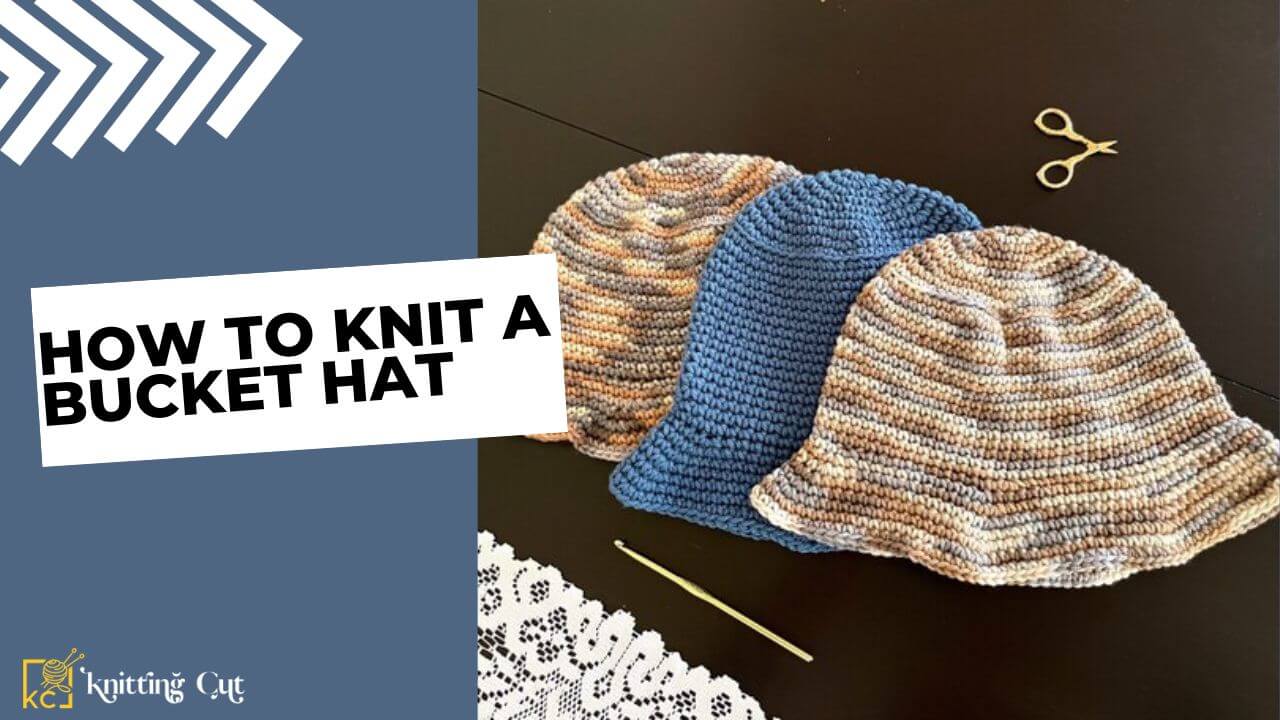
If you’re eager to embark on a new and exciting knitting project, consider making a trendy bucket hat! This practical and stylish accessory is a fantastic way to inject some color into your wardrobe. Despite initial intimidation, knitting a bucket hat can be a fun and rewarding endeavor for knitters of all skill levels. Let’s delve into the process and learn how to create a unique bucket hat that will undoubtedly impress your friends.
Can You Knit a Bucket Hat?
Absolutely! Knitting your own bucket hat not only allows you to personalize your headwear but is also a delightful and fulfilling project. With just a few basic stitches and some cozy yarn, you can craft a hat that combines warmth and style. So, grab your knitting needles, and let’s dive into creating a one-of-a-kind bucket hat that perfectly suits you.
Why Knit a Bucket Hat?
Bucket hats have made a comeback as a fashionable staple, and what better way to stand out than by crafting your own through knitting? Beyond showcasing your style, knitting a bucket hat provides an opportunity to explore various techniques and patterns, making it a creatively satisfying endeavor.
Read More: Knitting Patterns Men’s Hats
Materials:
- 1 ball of light-colored yarn
- 1 ball of dark-colored yarn
- Size 8 needles (5.5 mm)
- Stitch marker
- Yarn needle
- Scissors
- Tapestry needle
- Polyester fiberfill
Instructions:
Hat Brim:
- With the light color, cast on 120 stitches. Divide evenly between three needles, leaving a 10-inch tail on each. Join to work in the round without twisting stitches.
- Round 1: Knit front and back (kfb) around (120 sts). *Purl next stitch, kfb around; repeat from * twice more. Repeat Round 1 until the hat measures 18 inches or your desired length.
- Switch to the dark color and continue knitting or crocheting as follows:
- Rounds 2 and 3: Knit.
- Rounds 4 and 5: Purl.
- Rounds 6 and 7: K2tog, knit to end of round.
- Round 8: Purl.
- Round 9: K2tog, purl to end of round. Cut yarn, leaving a 10-inch tail on each needle. Weave in all ends.
Hat Body:
- Cast on 72 stitches.
- Knit in the round for 6 rounds.
- Change to slip stitches and knit 1 round.
- Switch back to regular knitting and continue until the hat measures 9 inches.
- Bind off in ribbing.
Hat Crown:
- Use double-pointed needles to cast on 72 stitches.
- Work in the round, knitting every other row.
- Decrease at the end of each round: knit 2, k2tog.
- After the last decrease round, there will be 54 stitches left. Bind off loosely.
Hat Ribbing:
- Cast on 4 stitches using double-pointed needles.
- Knit each stitch in the round for 2 rounds.
- Decrease evenly across the round (k2tog) until the hat measures about 8 inches.
- Decrease evenly again (d4tog) and weave in loose ends.
Hat Shank:
- Cast on 60 stitches and knit in the round.
- Work in a circular pattern, knitting each stitch.
- Secure the end, and your bucket hat is complete!
Hat Band:
- Cast on 96 stitches.
- K1, P1 for the entire hat band.
- Knit every other stitch for six rounds.
- Decrease one stitch at the beginning of each round (K1 tbl, K1) until desired.
Finishing Touches:
- The “ladder method” or double-pointed needles can be used to finish the hat. Weave in any loose ends.
Conclusion:
This step-by-step guide provides detailed instructions on how to knit a stylish bucket hat, making the process accessible to knitters of varying skill levels. Enjoy the creative journey of crafting your own unique accessory!
Read More: How To Decrease Knitting Hat
